We can accept files in jpg foramt. But to get the best print result, Vector Graphic Files is preferrd- vector-based images can be scaled by any amount without degrading quality. Usually supplied in PDF, AI, EPS or CDR formats.
JPG files are compressed images
When you save a file in jpg format your computer software is actually compressing the image data to optimise a balance between A) making the file size small, and B) retaining the quality of the image.
Compressing means you are losing data that makes up your image. Yes losing data that can not be recovered. An example of this is if you have 2 blues that are really very close to each other in your file, then your software says for economy to make the 2 blues the same blue. Most often these small changes are not noticable to your eye. But you are asked when you save a file in jpg format how much compressing you wish the software to do. There will be a scale or level indicator that will give you options to choose between low quality and high quality. Each program words this scale differently. No matter what the wording, there should be enough of an indicator to know which way to go.
The aim is to compress your file the least possible without leaving it too big and perhaps unmanagable for uploading. The bigger the file, the longer it takes to upload on the internet. Note: The maximum file size we accept is 5 megabytes. So your files must be under 5 mb in size. This will only effect people that have an image for the entire background of their card. It is only images that are the full business card size that may get anywhere near that size.
To help you identify the jpg compression terms and their meanings in your software, here is a list that shows you the various terms used to indicate the poorer quality jpg file. (Obviously the opposite end of the scale will be better quality.)
Low Quality Synonyms
· Low Quality
· Smaller File
· High Compression
· Photoshop Level 1
JPG Distortion
You may have a 1 megabyte photo on your computer. You open it up in your favourite image editing program and decide to save it in jpg format. When offered the jpg compression quality level slider you choose high compression (low quality) and click 'Save'. Looking at you file size you see that wow your file is now only 50k in size. You think that is fantastic.... until. You open the new small file up it look all fuzzy and blurry. You have some very strange shadowing around what were once clean shrp edge between contrasting colours. This is called jpg distortion. This is the trade off that jpg compression offers for smaller file sizes.
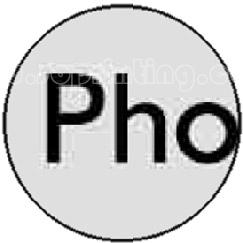
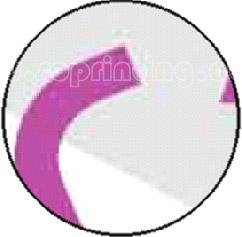
The above image is an example of high level jpg distortion. This image will deliver a poor result in print. You would not be happy with this on your business cards.The above image is an example of low level jpg distortion. We have enlarged this image up to show you what the eye cannot usually see. This image is at the low end of the acceptable range.
So avoid compressing your files too much. On a scale from 1 to 10, 1 being low quality high compression, and 10 being no compression highest quality, I would most often use a 7 or 8 for my images.
When ever you are creating a jpg image file you must set it to a resolution high enough for printing
Do not enlarge the image
A common mistake people make is trying to increase the resolution of an image. This cannot be done. Once your image is scanned or downloaded off your digital camera, it already has its resolution set. Any changes you make in your software to it will not give you a higher quality image. You must go back and rescan it at a higher resolution or take another photo at a higher resolution to obtain a better image file.